
A 3D printed electronics enclosure lets you build a custom box without paying for an injection mold, which can cost “50 grand” before you see your first part, according to Slant 3D, a print farm whose engineer designs enclosures for manufacturers. Printing also costs about the same per part as a generic off-the-shelf box, he said, so a custom design doesn’t have to raise the budget.
For hobby projects, maker Becky Stern’s approach on DigiKey’s YouTube channel is “a hollow box with holes in the right places.” This guide covers project boxes, Arduino and sensor cases, cable management and design rules from those creators. For Raspberry Pi cooling and case design, see our Raspberry Pi case guide.
Best 3D Printed Electronics Enclosure Projects
Prices from Amazon at time of writing. I may earn a commission from links, at no cost to you.
Project Boxes
- Parametric project-box generators: enter your board size and get a box
- Water-resistant boxes for outdoor sensors in PETG or ASA
- Snap-fit boxes for ESP32, Arduino Nano and other small boards
- Wall-mount enclosures with built-in mounting flanges
Battery-Powered Gadget Cases
3DSage, a YouTube channel about printing projects, built a standardized case system for breadboards, perfboards and small PCBs. It uses a swappable battery frame and holder, an external on-off switch and a modeled “snap tooth” for the back cover, with no screws. The reasoning: screws can be overtightened and stripped, and printed threads can turn brittle (3DSage, “Let’s 3D Print Electronic Cases”). To fit a different board, 3DSage imports the file into any 3D software, finds the size difference, halves it and offsets each side.
Single-Board Computer Cases
- Raspberry Pi cases with fan, screen or drive bays
- Arduino Uno and Nano cases
- Mini-rack and cluster mounts
Cable and Power Management
- Under-desk cable trays and grids (see 3D printed cable clips)
- PC cable combs and GPU support brackets
- Power-brick holders and charger docks
Workbench Helpers
- Soldering helping-hand bases and solder spool holders
- Component organizers (see {ext(L+”gridfinity-3d-print-beginners/”,”Gridfinity”)})
- Wire label tags
Design Rules From a Print Farm
Slant 3D says the most common mistake is taking an injection-molded design and simply printing it. “They are different processes, they should have different rules” (Slant 3D, “Why You Should 3D Print Your Electrical Enclosures”). Its tips:
- Print the box on its corner or edge. Add a small chamfer to one corner so it can stand on end. Slant 3D says this makes the whole box stronger, because layer lines can’t delaminate, and gives a more uniform surface finish.
- Make standoffs thick and chunky. Molding needs thin features to avoid shrinkage, but printing doesn’t. Chamfer standoffs into a pyramid inside the box. A printed standoff can be “beefy enough to where no tech can knock it off while putting in a screw.”
- Integrate holes and mounts instead of drilling an off-the-shelf box afterward.
- Design the lid to print with the box. In its Pi-case critique, Slant 3D suggested printing both halves vertically with about 0.1 mm between them, so they support each other and come off complete without generated supports.
Slant 3D also said enclosures can be printed in UL-rated or ESD-safe materials, at a different cost (Slant 3D, “Why You Should 3D Print Your Electrical Enclosures”).
A Maker’s Workflow
Becky Stern suggests prototyping in plastic takeout containers. She also likes shadow boxes and clear memorabilia boxes, which make nice-looking displays. When you design a printed box, record the board’s length, width and height, plus clearance and positions for anything that sticks out. Add “a little extra space called tolerance,” since real parts can’t overlap (DigiKey, “Creating Project Enclosures – Electronics with Becky Stern”). If you’re modifying a bought box, she recommends a step drill to avoid cracking the plastic. Her advice for getting started is a basic FDM printer and PLA, branching out to other materials later, in a ventilated space.
General Design Tips
- Print a thin fit-test of the port side before the full box
- Leave air paths for regulators, drivers and other warm parts
- Use snap-fits or heat-set inserts rather than self-tapping screws (see threads and inserts)
- Emboss labels or logos into the lid instead of adding stickers
Filament for Electronics Enclosures
| Filament | Use it for |
|---|---|
| PLA | Cool-running boards and prototypes |
| PETG | Warm electronics and outdoor boxes |
| ASA | Sunlight and heat |
| TPU | Gaskets and bumpers |
Makers on Reddit say PLA works for cool-running boards, but they switch to PETG or ASA for anything that stays warm.
Safety: don’t house mains-voltage wiring in a printed box unless the design and material are rated for it.
Best Printers for Enclosures
| Printer | Price (Amazon, Oct 16, 2026) | Why it fits | Link |
|---|---|---|---|
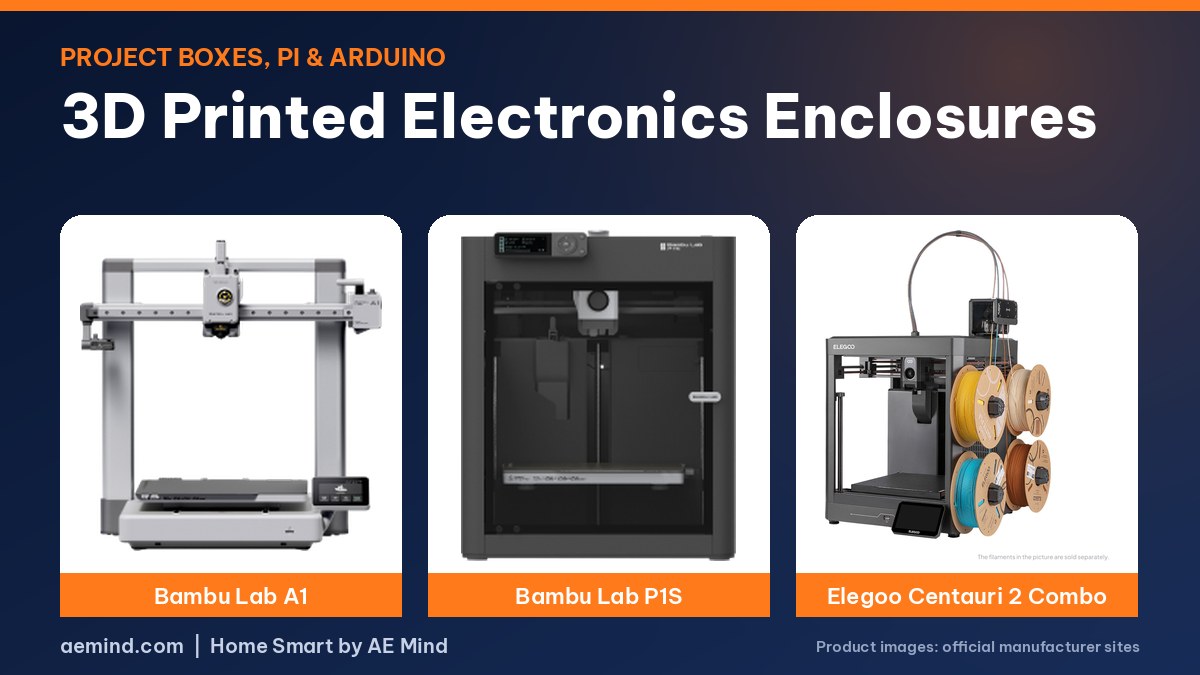
| Bambu Lab P1S Combo | $549.00 | Enclosed for PETG and ASA boxes | Check price |
| Elegoo Centauri 2 Combo | $328.99 | 4-color for embossed labels and logos | Check price |
Video: Slant 3D, “Why You Should 3D Print Your Electrical Enclosures”. Embedded with credit; the findings are the creator’s own.
Frequently Asked Questions
What filament is best for electronics enclosures?
PETG for most projects, PLA for cool indoor boards and ASA for heat or sun.
Is a 3D printed enclosure cheaper than a molded one?
For low and mid volumes, Slant 3D says yes. There’s no mold cost, and per-part cost is similar to a generic box.
How do I close a printed enclosure without screws?
Use snap-fits, sliding lids or a snap tooth like 3DSage’s design.
Can I make a waterproof project box?
Water-resistant, yes, with a good lid design or gasket and PETG or ASA. Test it before relying on it.
Sources
- Slant 3D, “Why You Should 3D Print Your Electrical Enclosures”
- Slant 3D, “3D Printing Engineer Reacts To Raspberry Pi Cases”
- DigiKey, “Creating Project Enclosures – Electronics with Becky Stern”
- 3DSage, “Let’s 3D Print Electronic Cases”
- Amazon product listings for the printers linked above, October 16, 2026
Related: 3D Printed Raspberry Pi Case | 3D Printed Cable Clips | 3D Printed Threads, Nuts and Bolts | Gridfinity for Beginners
Notes and disclosure
Note: Printer prices come from Amazon listings on October 16, 2026 and change often. Design tips come from the YouTube creators credited above, not hands-on claims from me.