
The most personal 3D print gifts are lithophanes, thin prints that reveal a photo when lit from behind, along with name signs, custom keychains and desk organizers made for one person. A lithophane works because thick areas block light and thin areas let it through, according to Desktop Inventions, a YouTube channel that published a beginner’s guide to printing them (Desktop Inventions, “Beginner’s Guide to 3D printing Lithophanes”).
Jim of The Edge of Tech, a YouTube channel about 3D printing, showed full-color lithophanes made with Bambu Lab’s CMYK filament kit and an AMS (The Edge of Tech, “How To Make Amazing Color Lithophanes Using The Bambu Lab CMYK Bundle!”), and RCLifeOn, a maker channel, printed lithophanes from family photos, including one huge print that took 46 hours (RCLifeOn, “3D Printing Your Photos – Lithophanes”). Below are gift ideas by person, then the settings those creators use.
3D Print Gifts: Ideas by Person
Prices from Amazon at time of writing. I may earn a commission from links, at no cost to you.
| Who | Ideas |
|---|---|
| Mom and grandma | Lithophane photo lamp, planter, jewelry dish |
| Dad | Tool organizers, car accessories, desk stand |
| Kids | Flexi animals, name signs, marble runs |
| Teachers | Pen cups, bookmarks, name plates |
| Coworkers | Cable clips, phone stands, keychains |
| Partner | Lithophane photo, custom keychain, jewelry box |
What Is a Lithophane?
A lithophane is a thin print where thicker areas block more light and thinner areas let light through. Unlit, it looks like a blank, textured white panel; put a window or lamp behind it and the photo appears. RCLifeOn notes the idea is centuries old: lithophanes were originally made in porcelain, and a 3D printer simply varies plastic thickness the same way (RCLifeOn, “3D Printing Your Photos – Lithophanes”). They make good lamps, nightlights, window frames and ornaments.
How to Make a Lithophane Gift
Desktop Inventions boiled the process down to five steps (Desktop Inventions, “Beginner’s Guide to 3D printing Lithophanes”):
- Take or pick a photo (high contrast works best).
- Upload it to a free online lithophane generator, crop it and export a 3D model.
- Import the model into your slicer and slice it.
- Send it to the printer and wait.
- Hold the finished print up to a window or put a light behind it.
Choosing a frame and shape
The generator Desktop Inventions used offers six frame styles: a plain border, a border with two corner tunnels for hanging twine, a hook tab, no border, no border with a triangular stand, and a border with a keychain hole (Desktop Inventions, “Beginner’s Guide to 3D printing Lithophanes”). He usually picks the plain border. RCLifeOn prefers the outer-curve shape and recommends starting there, and he stresses switching the image setting from negative to positive before exporting (RCLifeOn, “3D Printing Your Photos – Lithophanes”).
Best Lithophane Settings, According to Creators
Desktop Inventions printed the same photo at four model resolutions. 0.2 mm looked clearly sharper than 0.4 mm, 0.1 mm added a bit more detail, and he couldn’t tell 0.05 mm from 0.1 mm (Desktop Inventions, “Beginner’s Guide to 3D printing Lithophanes”). File size balloons as resolution shrinks: about 6 MB at 0.4 mm, 26 MB at 0.2 mm and 106 MB at 0.1 mm, until the website crashes. His verdict: the 0.2 mm default is good, and 0.1 mm is the practical limit.
Layer height matters too. A standard 80 x 120 mm photo takes him about five hours at 0.2 mm layers; dropping to 0.1 mm doubles that to about 10 hours for a modest gain in sharpness (Desktop Inventions, “Beginner’s Guide to 3D printing Lithophanes”).
| Setting | Desktop Inventions | RCLifeOn | The Edge of Tech (color) |
|---|---|---|---|
| Orientation | Vertical | Vertical, always | Flat on plate |
| Infill | 100% | 100% | 100% (rectilinear) |
| Layer height | 0.2 mm (0.12 mm sharper) | 0.2 mm | 0.15 mm first layer |
| Nozzle | Standard | Standard | 0.2 mm preferred |
| Adhesion | Raft | Skirt at zero offset | Cool plate for smooth back |
| Filament | White PLA | White PLA at 205°C | Bambu CMYK kit |
Print vertically, with 100% infill
RCLifeOn calls vertical printing very important: if the generator lays a flat lithophane on the bed, rotate it 90 degrees upward (RCLifeOn, “3D Printing Your Photos – Lithophanes”). He uses 100% infill, a slightly reduced extrusion multiplier, 0.2 mm layers, 205°C and a slowed 45 mm/s for extra detail. With those settings his lion-head lithophane took eight hours, and a scaled-up version took 46 hours. He printed all of his on a Creality CR-10.
Fixing bed adhesion
Because a vertical lithophane has a tiny footprint, Desktop Inventions had a print curl off the bed and had to stop it (Desktop Inventions, “Beginner’s Guide to 3D printing Lithophanes”). His fix is a raft, which tears away cleanly and leaves a smooth bottom edge. A brim also helps, but he finds brims fuse into the first layer and leave burrs when cut off. Setting walls to 100% infill keeps the border from showing the internal support pattern under a strong backlight.
Other colors
You can print in colored filament; Desktop Inventions showed a blue one, but felt it looked less authentic than white (Desktop Inventions, “Beginner’s Guide to 3D printing Lithophanes”).
How to Make a Color Lithophane on a Bambu Lab Printer
The Edge of Tech walked through a full-color lithophane using the Bambu Lab CMYK filament kit loaded in an AMS (The Edge of Tech, “How To Make Amazing Color Lithophanes Using The Bambu Lab CMYK Bundle!”):
- On the generator’s color lithophane page, crop to 144 x 108 mm to fit Bambu Lab’s free frame files, and set the first layer to 0.15 mm.
- Leave the color option on the default setting for the Bambu CMYK kit, preview it, then download the zip.
- The zip holds five STL files (two of them white). Drag all five into Bambu Studio or Orca Slicer and import them as one object.
- Sync the AMS so the slicer sees all four colors, then assign each part to the matching slot.
- He prefers a 0.2 mm nozzle; with a 0.4 mm nozzle he suggests a very small layer height such as 0.08 mm.
- Set top and bottom layers to three each and infill to 100% (the slicer switches to rectilinear).
- He prints on the cool plate for a smooth back.
Unlit, the finished print looks like a regular lithophane with faint color on the back; with a light behind it, the full-color image appears.
Video: Desktop Inventions, “Beginner’s Guide to 3D printing Lithophanes”. Embedded with credit.
Personalized Gift Ideas Beyond Lithophanes
- Name signs and door plates (multicolor printers make raised lettering easy)
- Custom keychains with a name or initials
- Phone and headphone stands
- Desk organizers and pen cups
- Planters (see 3D prints for garden)
Best Printers for 3D Print Gifts
| Printer | Price (Amazon, Oct 16, 2026) | Why it fits | Link |
|---|---|---|---|
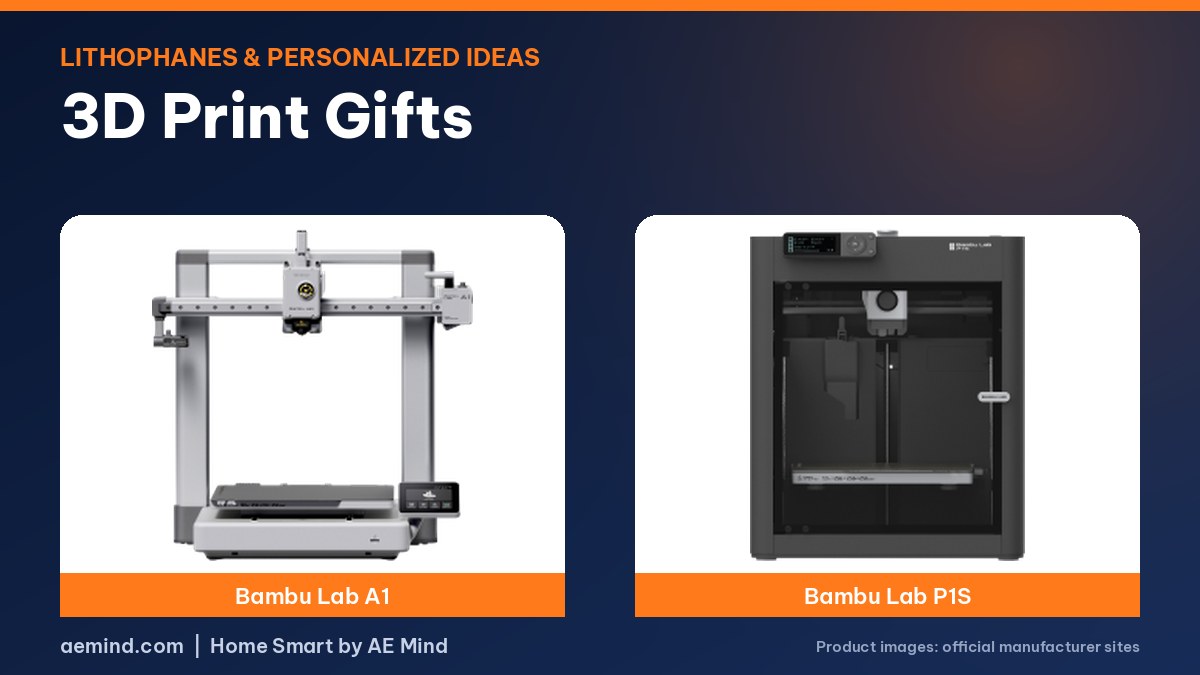
| Bambu Lab A1 | $299.99 | Affordable; add an AMS lite for color | Check price |
| Bambu Lab P1S Combo | $549.00 | Enclosed; includes AMS for CMYK lithophanes | Check price |
| Elegoo Centauri 2 Combo | $328.99 | Four-color printing for personalized signs | Check price |
Compare models in Best Budget Multicolor 3D Printer.
3D Print Gifts: Frequently Asked Questions
What is the best 3D printed gift?
A lithophane photo lamp is hard to beat for family. Personalized signs and keychains work for almost anyone.
What filament is best for lithophanes?
White PLA is the standard. Colored filament works but looks less authentic, per Desktop Inventions.
How long does a lithophane take to print?
About five hours for an 80 x 120 mm photo at 0.2 mm layers, per Desktop Inventions; finer layers or bigger prints take much longer.
Should lithophanes be printed vertically?
Yes, for single-color lithophanes. Both Desktop Inventions and RCLifeOn print them standing up with 100% infill.
Can I make a color lithophane?
Yes, with a multicolor printer such as a Bambu Lab with AMS and a CMYK filament set.
Sources
- Desktop Inventions, “Beginner’s Guide to 3D printing Lithophanes”
- The Edge of Tech, “How To Make Amazing Color Lithophanes Using The Bambu Lab CMYK Bundle!”
- RCLifeOn, “3D Printing Your Photos – Lithophanes”
- Amazon product listings for the printers linked above, October 16, 2026
Related: Bambu Lab A1 Review | Bambu Lab P1S vs P2S | Best Budget Multicolor 3D Printer
Notes and disclosure
Note: Printer prices come from Amazon listings on October 16, 2026 and change often. Settings and results come from the credited YouTube creators; I have not printed these lithophanes myself.