
To 3D print replacement parts, search for an existing model first, then measure the broken part with digital calipers, model it in free CAD software, and test-fit a quick, thin PLA version before printing the final part in the right material. Michael of Teaching Tech, a YouTube channel that teaches 3D printing, used that workflow to replace a broken IKEA wardrobe rail clip (Teaching Tech, “Replace broken items around the house with 3D printing”).
Zack Freedman, a YouTuber and maker, copies parts by photographing them from every angle and tracing the photos into dimensioned sketches, and argues that a home copy can end up better than the original (Zack Freedman, “You can copy and print perfect spare parts! (Legally) (Probably)”). Appliance knobs, battery covers, shelf pins and clips are among the most common replacement prints.
This post contains Amazon affiliate links. If you buy through them, I may earn a commission at no extra cost to you.
Common Replacement Parts People 3D Print
- Appliance knobs (washers, dryers, stoves)
- Battery covers and remote backs
- Shelf pins, clips and brackets
- Wardrobe rail clips and drawer slides
- Vacuum and tool clips
- Faucet spacers and cabinet bumpers
- Car trim clips (see 3D prints for car)
How to 3D Print Replacement Parts, Step by Step
- Search first. Look up the brand and model plus “replacement” on MakerWorld, Printables or Thingiverse.
- Measure with digital calipers: outside, inside and depth.
- Model in a free tool like Tinkercad, Onshape or Fusion. Some people trace photos of the part.
- Test-fit a thin, fast print in cheap PLA first.
- Print the final part in the right material.
- Iterate: it often takes two or three tries.
Measuring and Modeling: Teaching Tech’s Method
Teaching Tech’s project started when his son’s wardrobe rail fell down because one retaining clip had snapped (Teaching Tech, “Replace broken items around the house with 3D printing”). He removed both the broken clip and the good one, since he needed an intact part to measure. His tool of choice was a set of vernier or digital calipers, which he called affordable and useful three ways: outside dimensions, inside distances and, using the tail, depths.
He modeled the clip in Onshape, which he has used for years because it is free, though he notes Fusion 360 is more popular and the best tool is whichever works for you (Teaching Tech, “Replace broken items around the house with 3D printing”). His approach:
- Break the object into simple shapes; almost every 2D sketch is lines, circles and arcs.
- Draw rough shapes first, then add dimensions and relations from caliper readings. Construction lines and mirroring keep things symmetrical.
- For hard-to-measure features, get close by trial and error, then drag geometry until it matches visually.
- Before modeling the full part, print a very thin footprint to hold against the original. His took about 28 minutes on a Prusa Mini and confirmed the holes lined up.
- Double-check the underside of the original. He missed a cutout and had to add it later.
- Add a chamfer under small overhangs so they print without support.
In PrusaSlicer he raised infill to 30% for strength and turned on supports, placing them where they would be hidden (Teaching Tech, “Replace broken items around the house with 3D printing”). He also printed a version in an ABS-like resin. Both screwed in, held the rail with a satisfying click and carried a full load of clothes. Because he has the CAD file, he says any future repair is easy: add thickness or a support rib.
Copying Parts From Photos: Zack Freedman’s Method
Zack Freedman needed spare hard-disk sleds for a Rosewill server case, because, he says, the manufacturer doesn’t sell them (Zack Freedman, “You can copy and print perfect spare parts! (Legally) (Probably)”). He chose it because the sleds are simple: right angles, arcs and three pieces of injection-molded ABS. He warns against being too ambitious; hobby printers can’t make circuit boards, metal or crystal-clear parts.
His kit: a camera, calipers, a short ruler with clear markings, a bubble level, lots of light, and a CAD program that imports photos (he uses Fusion, and says Autodesk gave him a free license). He recommends filament over resin, which he finds not strong or accurate enough for parts usually injection molded in tough plastic, and suggests a few kilos of the cheapest white or clear PLA for prototypes (Zack Freedman, “You can copy and print perfect spare parts! (Legally) (Probably)”).
His photo tips
- Light the object from all angles on a contrasting surface; an overcast day outdoors works.
- Level the object, then lay the ruler on its tallest surface for scale.
- Turn off autofocus, sharpening and AI filters so the photo shows the real part.
- Use the telephoto lens from a distance, camera dead level, with plenty of empty space around the object to limit distortion.
Adapt, don’t just copy
Features that work in injection-molded plastic can be too weak along 3D-printed layer lines. Freedman replaced a thin molded latch rib with a 2 mm screw supported by bosses, so the load sits on the perimeters (Zack Freedman, “You can copy and print perfect spare parts! (Legally) (Probably)”). He also fused separately welded side rails into one part, and found that holes he had assumed saved material were actually there for cooling, so he added them back. His rule is to test again after every change, including the material, and later he redesigned weak bosses and swapped cracking snap teeth for screws.
Video: Teaching Tech, “Replace broken items around the house with 3D printing”. Embedded with credit.
Choosing the Right Material for Replacement Parts
Prices from Amazon at time of writing. I may earn a commission from links, at no cost to you.
| Part | Filament |
|---|---|
| Indoor, light use | PLA |
| Heat, water or flexing | PETG or PCTG |
| High heat or impact | ABS or ASA (enclosed printer) |
| Rubber feet and grips | TPU |
Freedman chose PCTG for his sleds because packed hard disks run hot enough to soften PETG, and ABS tends to warp on short, wide, dense parts (Zack Freedman, “You can copy and print perfect spare parts! (Legally) (Probably)”). He used 3D Fuel PCTG; the brand had sponsored an earlier episode and supplied filament. Switching from PLA prototypes changed the fit, since PCTG is more flexible, so plan on another test print. See PLA vs PETG for beginners.
Best Printers for Replacement Parts
| Printer | Price (Amazon, Oct 16, 2026) | Why it fits | Link |
|---|---|---|---|
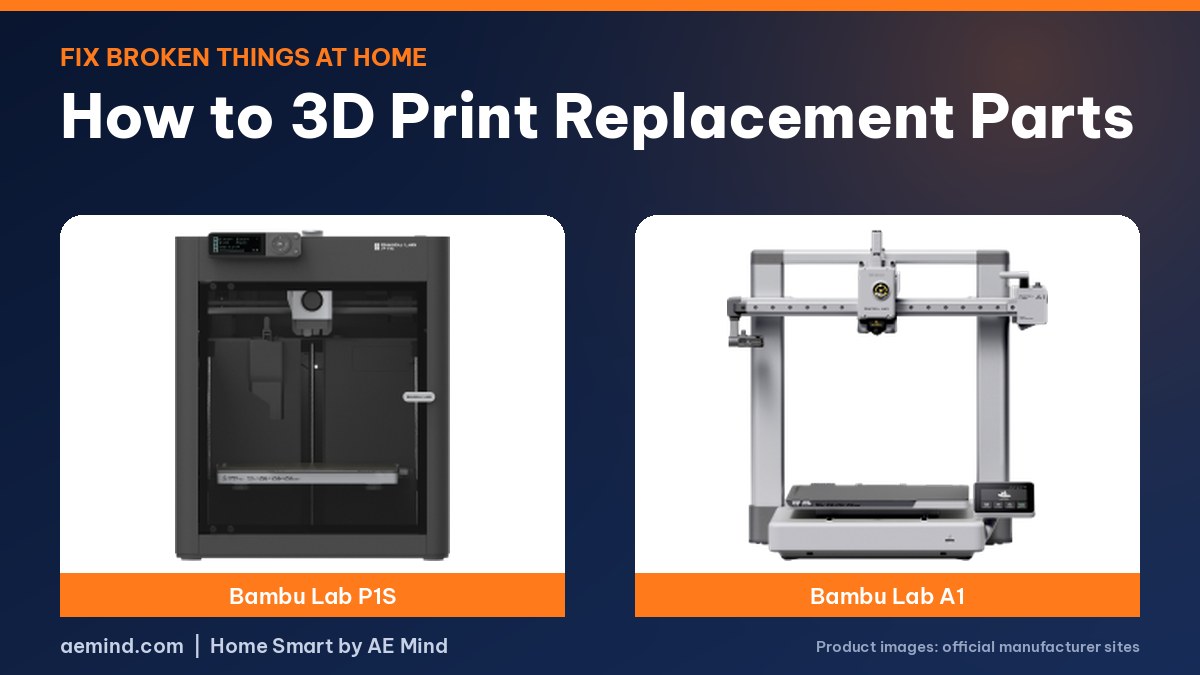
| Bambu Lab P1S Combo | $549.00 | Enclosed; prints ABS and ASA like many original parts | Check price |
| Bambu Lab A1 | $299.99 | Accurate and affordable for PLA and PETG parts | Check price |
| Creality K1C | $369.00 | Enclosed; prints carbon-fiber filament for stiff parts | Check price |
What Reddit Users Report
On Reddit, one r/functionalprint user designed a replacement knob for a 15-plus-year-old Kenmore washer in about an hour in Tinkercad (r/functionalprint: Designed a replacement knob for my washer). Another commenter said printed parts keep their old appliances running because originals are unavailable, slow or expensive.
Is It Legal to Copy a Part?
Freedman’s take, which is not legal advice: cloning products for personal use is almost always legal, because copyright doesn’t protect functional elements, and a patent restricts selling an invention rather than copying it (Zack Freedman, “You can copy and print perfect spare parts! (Legally) (Probably)”). The biggest hazard is trademarks, so never put someone else’s logo or brand name on your version; say a part is “compatible with” a product instead. Selling designs based on someone else’s work raises more issues.
3D Printing Replacement Parts: Frequently Asked Questions
Can I 3D print any replacement part?
Many plastic parts, yes. Avoid safety-critical parts such as gas, electrical and load-bearing parts.
Do I need CAD skills?
Search first. If you can’t find a model, free Tinkercad or Onshape is enough for simple parts.
What tool do I need to measure parts?
Digital calipers. Teaching Tech calls them affordable and uses them for outside, inside and depth measurements.
How do I check fit without wasting filament?
Print a thin footprint of the part and hold it against the original, as Teaching Tech did in about 28 minutes.
Is it legal to copy a part?
Printing a part for your own use is generally fine. Avoid others’ logos and brand names, and be careful about selling copies.
Sources
- Teaching Tech, “Replace broken items around the house with 3D printing”
- Zack Freedman, “You can copy and print perfect spare parts! (Legally) (Probably)”
- r/functionalprint: Designed a replacement knob for my washer
- Amazon product listings for the printers linked above, October 16, 2026
Related: Bambu Lab A1 vs P1S | PLA vs PETG for Beginners | Bambu Lab A1 Maintenance Guide
Notes and disclosure
Note: Printer prices come from Amazon listings on October 16, 2026 and change often. Methods come from the credited YouTube creators and Reddit thread; Zack Freedman disclosed a free Fusion license and sponsored filament. I have not made these parts myself.